

Your Raspberry Pi can block advertisements before they reach your devices with Pi-hole.
While internet advertising is a significant source of revenue for your favorite websites, including this one, some individuals want to prevent it for a variety of reasons, including performance or privacy concerns. You could install blocking software on each of your devices, but the most effective method is to use Pi-hole to establish a server that filters all of your web traffic on your local network level.
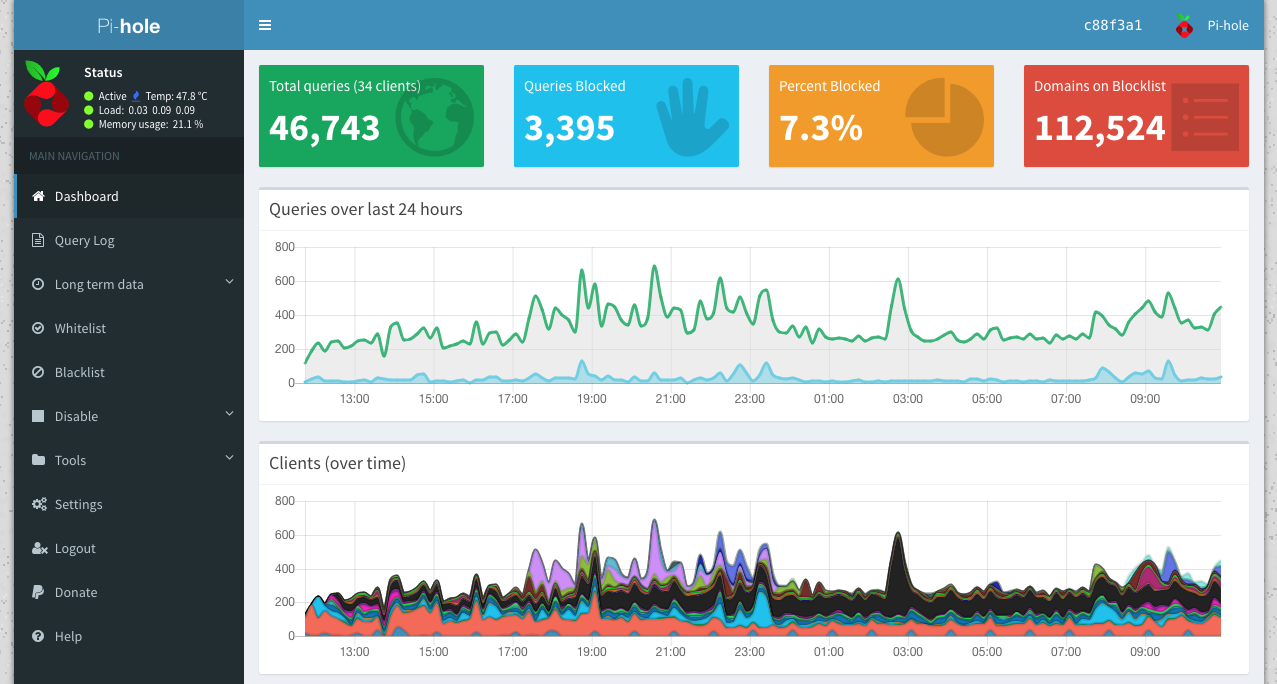
Pi-hole is a network-wide adblocker based on the Raspberry Pi. We install the programme on a Raspberry Pi running Raspberry Pi OS, execute a quick installation script, and then redirect our workstations to the Raspberry Pi's IP address to start blocking ads immediately. We may also put sites you visit regularly, such as https://shopmakergenix.blogspot.com/, to a whitelist, which we highly encourage you to do to help them keep the lights on.
In this article, we'll show you how to transform a spare Raspberry Pi into an ad-blocking computer that can be discreetly hidden on your network. We used a Raspberry Pi 4, but considering the minimal system requirements for Pi-hole, this is a great opportunity to dust off that old Raspberry Pi that's been collecting dust in your drawer.
You'll need a Raspberry Pi with Ethernet power and an Ethernet connection for this project, as well as a Windows PC.
Getting Your Raspberry Pi Setup
- From the Raspberry Pi website, download and install Raspberry Pi Imager.
- In your PC, insert a spare microSD card. This card will be removed from the deck.
- To access a hidden settings menu, launch Raspberry Pi Imager and press SHIFT + CTRL + X.
- Scroll to the bottom of the page and select Enable SSH, then enter a new SSH password. When you're finished, click Save.
- Select Raspberry Pi OS from the Operating System drop-down menu (32-bit).
- Select the microSD card from the Storage menu by clicking the button. Before continuing, double-check that you have the correct drive.
- To download and write the RPi OS to the microSD card, select Write. Remove the card from your computer after you're finished.
- In your RPi, insert the RPi OS microSD card. Then, using an Ethernet wire, connect your Raspberry Pi to the network, and finally, add power to boot the Pi.
Using SSH to Install Pi-hole
- Download and install PuTTY for Windows users. Users of Linux and Mac may open a terminal immediately.
- Open PuTTY and enter raspberrypi.local as the hostname (on some networks, this is just raspberrypi without the.local).
- When prompted, enter your username and password. For security reasons, these are not printed on the screen.
- Download the newest updates for your Raspberry Pi after updating your software repositories.
$ sudo apt update
$ sudo apt upgrade -y- Run this one-line installation script to install Pi-hole. The script will be downloaded, and the installation will be launched in the terminal using this command.
$ curl -sSL https://install.pi-hole.net | bash
- After upgrading the available software, the Pi-hole installer will launch a menu-based installation procedure. To continue with the installation, press Enter.
- Select eth0 as the Pi-hole network interface. To shift the red highlight to Ok, press Tab, then Enter. This is our Gigabit Ethernet port, which will provide you the greatest connection available.
- Choose your upstream DNS service provider. We went with Google, but there are plenty of other options. Then press Tab, then Enter.
- By pushing tab and entering, you accept the default list of banned sites.
- By pushing tab and entering, you accept the default IPv4 and IPv6 protocols.
- Accept the existing network configuration and make it static. Make a mental note of the information because we'll need it later.
- By hitting tab and entering, you may install the web admin interface.
- By hitting tab and enter, you may install the lightppd web server, which will provide the web admin pages.
- Accept the log settings as they are.
- By pushing tab and entering, you accept the default privacy mode.
- The installation is complete, and the final page displays the Pi-hole device's IP address as well as a password for accessing the admin portal.
- In the terminal, use the following command to change the web admin password. You'll be asked to enter your password twice.
$ pihole -a -pConnecting the Pi-hole to the Internet
- Select Network Connections by right-clicking on the Windows logo.
- Select Properties.
- To make changes to the network settings, go to Edit.
- Change your IP address to the one you choose. We opted to use the DHCP server provided by the router. Set the length of the Subnet prefix to 24. The Gateway is the router's IP address, which in our instance is 192.168.0.1. Our Pi-hole DNS server, 192.168.0.24, is the preferred DNS server. If our Pi-hole device goes offline, the Alternative DNS server is utilised, which in this case is Google's DNS server. To save the modifications and restart the network interface, click Save.
How to Add a Site to the Pi-Hole Whitelist
- Type /admin into a web browser connected to your Raspberry Pi's IP address. We proceeded to http://192.168.0.34/admin/ for our setup.
- Enter your username and password to access your Pi-Hole. The admin login password had been changed before.
- Whitelist may be accessed from the dashboard.
- Click Add to Whitelist after entering the URL of the site you want to whitelist under Domain. This website can now serve advertisements.
- By clicking the button beneath Status, domains can be activated or disabled in the whitelist. The trashcan icon may be used to remove whitelisted websites.
- To return to the default admin page, click logout.


0 Comments